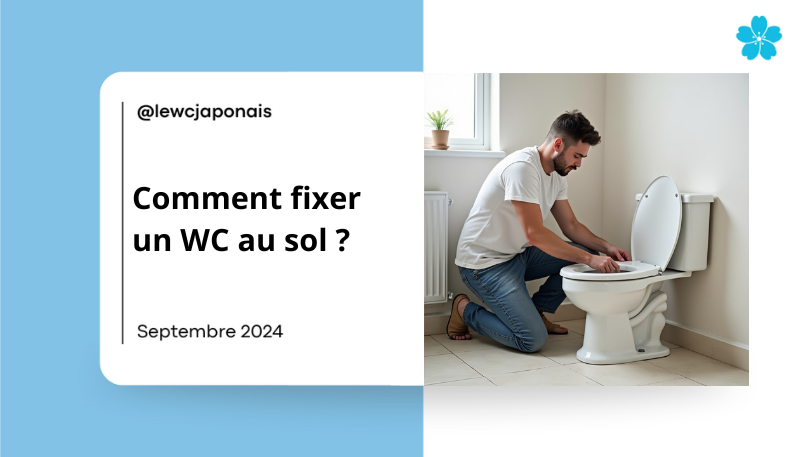
How to fix a toilet to the floor?
Installing a floor-standing toilet can seem daunting if you're not a DIYer, but with a little preparation and the right tools , it's completely doable. This comprehensive guide takes you step-by-step through how to properly secure your toilet to the floor and helps you choose between horizontal and vertical drainage . So, put on your gloves , grab your level , and let's get started!
Installing a floor toilet

Before you begin, make sure you have all the necessary tools on hand:
- A pencil to mark the landmarks.
- A level to check horizontality.
- A drill with suitable bits.
- Ground anchors (usually concrete anchors).
- A screwdriver .
- A silicone seal to ensure watertightness.
- A connection siphon for the drain.
Fixing steps:
- Positioning : Place your toilet bowl in the intended location. Use the level to check that it is straight.
- Marking the reference points : Using a pencil, trace the outline of the base of the toilet and mark the fixing points.
- Pre-drilling : Remove the bowl and drill holes at the marked locations. Remember to check the floor type to choose the correct drill bit and anchors.
- Fixing : Place the dowels in the holes, put the bowl back in place, and screw it firmly to the floor. Check the horizontality again.
- Connection : Connect the water inlet hose and the connection siphon to the drain.
- Finishing : Apply a silicone seal all around the base of the toilet for a perfect seal. Smooth with your finger for a clean finish.
There you have it, your toilet is securely fixed to the floor! Simple, right? Now let's move on to a crucial point: the evacuation.
Horizontal or vertical evacuation?
One of the first questions to ask yourself is what type of drainage you have or want to install. This directly influences the choice of your toilet .
Horizontal evacuation
Horizontal drainage is the most common in modern installations . The drain pipe is located at the back of the toilet bowl and exits horizontally into the wall.
- Advantages : Easy to install, as the outlet is directly visible. Connections are generally simple.
- Disadvantages : Less flexibility in case of renovation.
Vertical evacuation
Vertical drainage , on the other hand, is rarer and is mainly found in older homes . Here, the drain pipe is directed downwards, directly into the ground.
- Advantages : Saves space behind the toilet. This is often the solution chosen when space is limited.
- Disadvantages : Installation a little more complex and requires specific fittings .
The choice between these two types of evacuation depends on your current configuration . If you are renovating, choose horizontal evacuation for its simplicity. If you are adapting an old home, vertical evacuation may be the best option.
Common Mistakes to Avoid When Installing a Floor-Mounted Toilet
Installing a toilet can be tricky if certain steps are overlooked. Here are some common mistakes you can avoid to ensure a successful installation:
- Failure to check for levelness : If the toilet is not perfectly level, it may move or leak. Use a level at each stage of the installation.
- Using the wrong anchors : Choosing the wrong anchors for the type of floor can compromise the stability of the toilet. Make sure to use anchors specifically designed for concrete, tile or parquet.
- Neglecting to seal : A poorly applied seal or a lack of silicone can cause water leaks . Take the time to properly seal the connections and the base of the toilet.
- Overtightening screws : This can cause cracks in the bowl or damage the fasteners. Tighten firmly but do not overtighten.
- Forgetting to check the connections : Before finalizing, run a little water to check that there are no leaks around the water inlet and drain connections .
How to choose the right seal?
The seal is essential to prevent water leaks and ensure the durability of your installation. But what type of seal should you choose? Here are some tips:
- Silicone seal : Ideal for sealing the base of the toilet to the floor. Choose a special bathroom silicone, resistant to humidity and anti-mold .
- Rubber gasket : Perfect for drain connections. It offers better flexibility and is easy to install.
- Foam gasket : Used for the installation of modern toilets , it compensates for surface irregularities and prevents leaks.
For optimal results, choose quality seals suited to your type of installation.
What to do if there is a leak after installation?
Even after carefully installing your toilet, it is possible to encounter some leaks . Here is how to identify and repair them:
- Leak at the base - Check the silicone seal. If necessary, remove the old seal and apply a new layer.
- Leak at drain junction - Make sure the fitting is seated properly and the rubber gasket is not worn. If the leak persists, replace the gasket.
- Tank Leak - Check to see if the tank mounting screws are too tight. Overtightening can cause a crack in the tank.
- Leak at the water inlet - Check the tightness of the hose and the condition of the rubber seal at the inlet of the bowl. Replace the seal if necessary.
If in doubt, do not hesitate to redo the installation of part of the equipment to ensure perfect sealing .
Received ideas
When it comes to installing a toilet, we often hear all sorts of advice that is not always justified. Let's debunk some preconceived ideas :
- “You have to fix the toilet with huge screws” Not necessarily. The size of the screws depends on the type of floor. On concrete, long and strong screws are recommended, but on parquet, choose suitable screws to avoid damaging the wood.
- “A floor-standing toilet is less aesthetic than a wall-hung toilet” It depends on the design chosen. Modern floor-standing toilet models can be just as elegant as a wall-hung toilet, with curves and finishes that fit perfectly into a contemporary bathroom.
- “Toilets with vertical evacuation are no longer compliant” This is not true. Vertical evacuation is still permitted and may be more practical depending on the layout of your home.
Easier to install than a wall-hung toilet?
Ease of installation
Fixing a toilet to the floor is often simpler and quicker. All you need to do is drill a few holes, use dowels and make the connections. A wall-hung toilet, on the other hand, requires the creation of a support frame , wall fixings, and often a good deal of patience.
Maintenance and stability
However, a wall-hung toilet has advantages in terms of ease of cleaning and space saving. In addition, once properly installed, it is as robust as a floor-standing toilet. For reasons of aesthetics and practicality, more and more people are opting for wall-hung toilets despite the more technical installation.
Choice based on skills
If you are a DIY beginner , a floor-standing toilet is still the best choice. Installation is more intuitive, and it is easier to correct small leveling errors. If you are up for a challenge, a wall-hung toilet is ideal for modernizing the look of your bathroom.
In conclusion, installing a floor-standing toilet is not rocket science. With the right tools and careful preparation, you can do this task yourself. Take the time to choose your model carefully according to the type of evacuation, and do not hesitate to get help if necessary. After all, having a well-fixed toilet is the beginning of comfort!

